• You liked BFD7 now you should join this forum and of course become a club member to see what CCA is all about.
  • Thank you to everyone who registered and showed up for the BIG Fish Deal #7.

Setting up my 135G with sump

IndianaSam

CCA Members
Hi all!

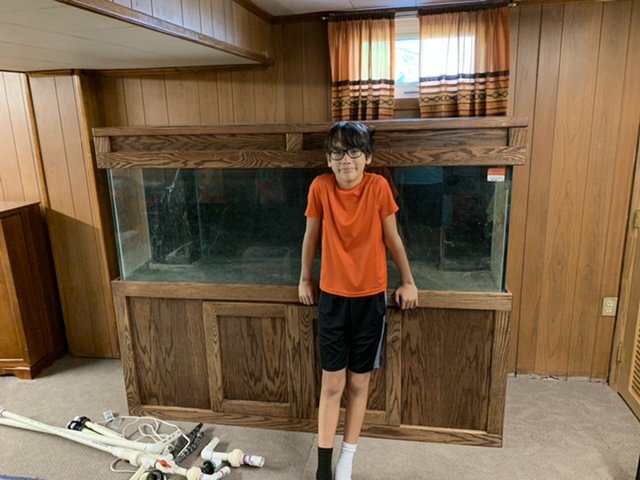
I bought a used, “reef ready” with corner overflows, 135 gallon aquarium from FishEggs FishEggs back in June. Well, after a lot of reading and, more importantly, setting aside some money, it’s time for me to get it set up.

It’s been a long, slow road of buying a pump, bulkheads, PVC, driftwood, a tank for the sump, and all the little odds and ends.

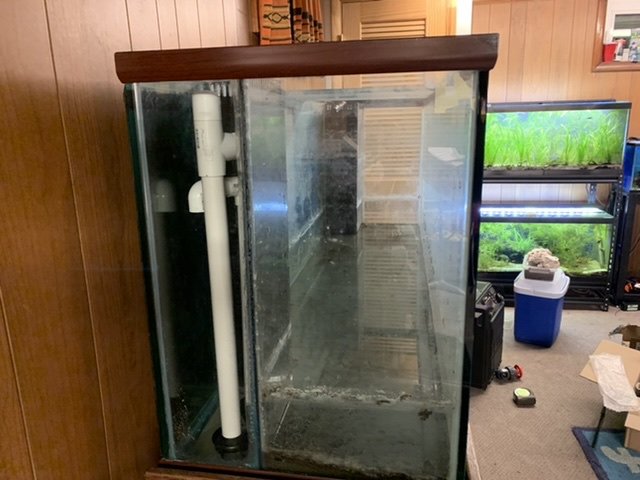
Here’s a picture from the day it arrived:
3612EBBE-2325-4A33-AA34-D4B40B5FAD5C.jpeg

I’m a pretty paranoid guy so I decided to go with a modified “Bean Animal” configuration because it’s quiet and has 2 failsafe drains. You can read all about it here: http://www.reefcentral.com/forums/showthread.php?s=&threadid=1310585&perpage=25&pagenumber=1

To that end, the left overflow will contain the main siphon drain and the secondary, open, drain. The right overflow will contain the return line and the final emergency drain.

I’ll post pictures as it progresses.
 

IndianaSam

CCA Members
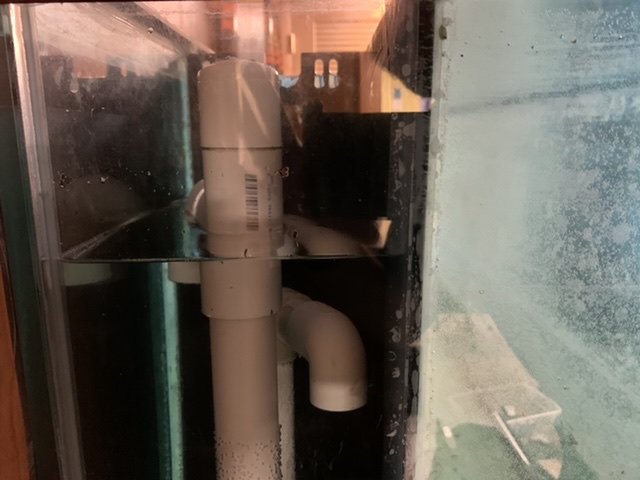
The left overflow contains the main, full siphon, drain and the secondary, open, drain.

The main drain is the shorter of the two and the secondary drain will determine the height of the water inside the overflow. In the unlikely event that the main drain clogs, the open drain is the first backup drain.
E93BBE8F-154B-4A3A-9F0C-3C9282DDC12A.jpeg
 

IndianaSam

CCA Members
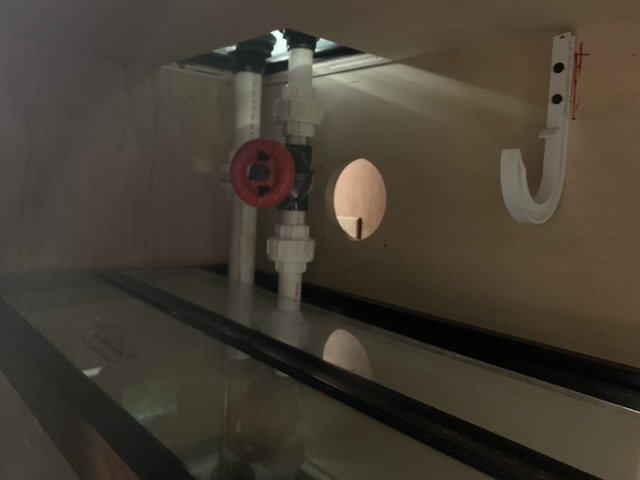
Here’s a picture of the main and secondary drains below the tank. The main drain is tuned with the gate valve to closely match the return pump flow rate. Both drains should terminate below the water line in the sump tank for quiet operation.
B6BE0170-CA61-4560-A5CC-5125713D3DF1.jpeg
 

IndianaSam

CCA Members
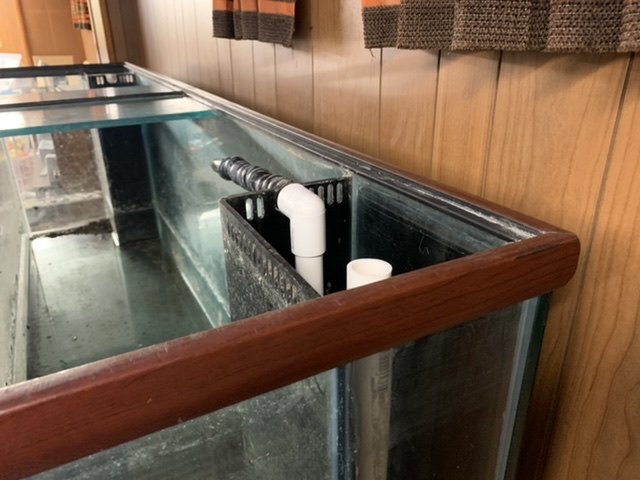
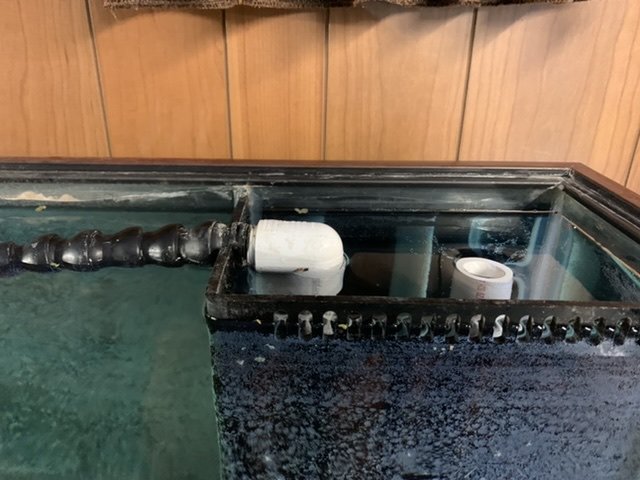
A picture of the return line and emergency drain. The emergency drain is the tallest of the 3 drains and will remain dry until the unlikely event that the other two drains fail.
0D019A95-5204-469F-9A89-56361ABC8A87.jpeg

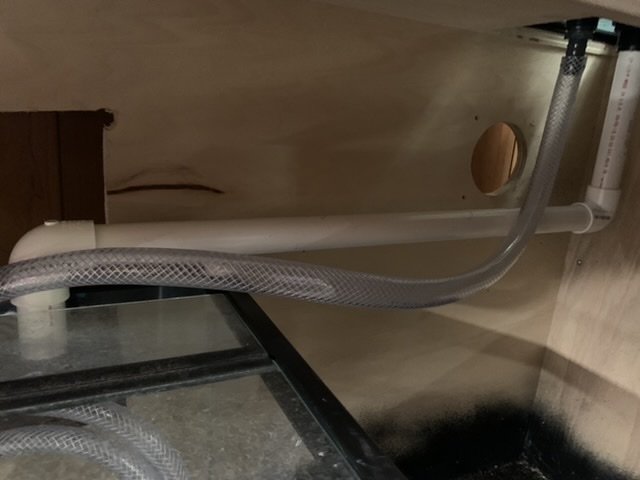
Below the tank. The emergency drain terminates well above the water line in the sump so that it will be loud and alert me to any problem. I decided to go with braided hose from the pump to the bulkhead for simplicity.
26E4A1ED-026A-42EF-AFD9-54E8FB152C90.jpeg
 

IndianaSam

CCA Members
I did all the dry fitting today and will be cementing it together tomorrow. The first test run should be on Monday after the cement has cured. I’m happy that it’s a federal holiday to give me plenty of time to troubleshoot!
 

JLW

CCA Members
You're actually doing a modified Herby, not a Bean. :)

But, it looks to be off to a good start!!!
 

IndianaSam

CCA Members
You're actually doing a modified Herby, not a Bean. :)

But, it looks to be off to a good start!!!
BeAn Animal has 3 drains: siphon, open and emergency. Herbie only has 2 drains: siphon and open/emergency.

I’d say that it’s a BeAn Animal system because of the 3 drains and their configuration. I can’t remember on which page it occurred, but if you read the original thread from BeAn it’s the configuration that he actually suggests with 2 internal overflows.

I was thinking of doing a dual Herbie system, but that would have meant plumbing the return over the back of the tank. Given my general inexperience running and welding PVC, I decided against it
 

IndianaSam

CCA Members
The fill test went really well! No leaks at all and the drains are working well.

In this picture you can see the main drain fully submerged and in full siphon mode. The water line in the overflow is sitting steady in the middle of the open drain.
A6384BE6-EEF8-4343-8869-69F63FA5621F.jpeg

Tomorrow I need to fix the emergency drain as it is approximately 1/4” too low and is pulling water just the tiniest bit.
53E57450-654C-4DD7-9460-1727D792D8AB.jpeg

Overall the system is super quiet. The loudest sounds are the water spilling over the weir on the left side and a small amount of vibration coming from the Eheim pump that I’m using.
 

IndianaSam

CCA Members
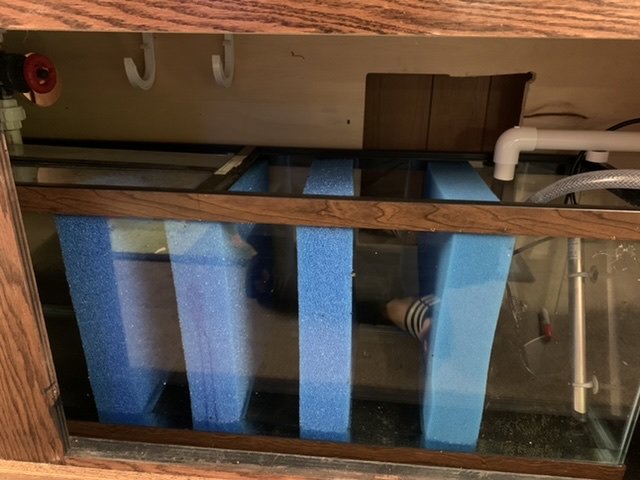
Three inch Poret foam has been cut and placed in the sump. They go drain -> 10ppi -> 20ppi-> 20ppi-> 30ppi—> return pump. I had originally planned on having more space between the 20ppi sheets to grow plants for nitrate removal, but that’s not going to work out. I feel like I need to be able to easily see the sheets and the water level between them to quickly detect any clogging.
F3EF70EC-B77C-400E-88D5-BF18425BF526.jpeg

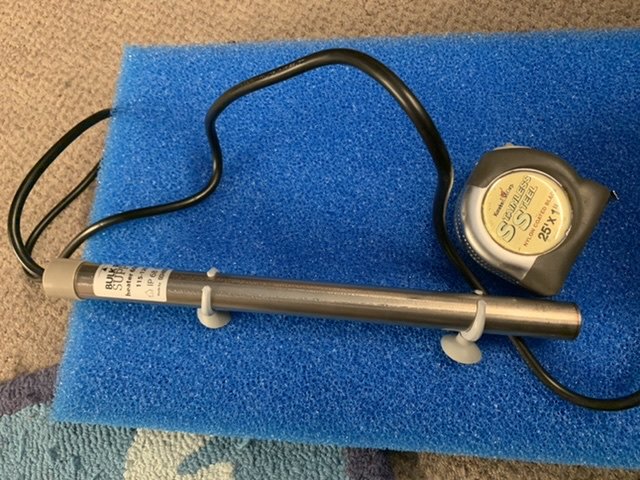
The heater that I chose for the tank is the new project from Bulk Reef Supply, which is a 600 watt“titanium” with a controller. JLW JLW recently posted about these here: https://www.capitalcichlids.org/forums/threads/new-heaters.36559/
93E31155-DC75-49BB-A572-DB5ACD553647.jpeg
 

IndianaSam

CCA Members
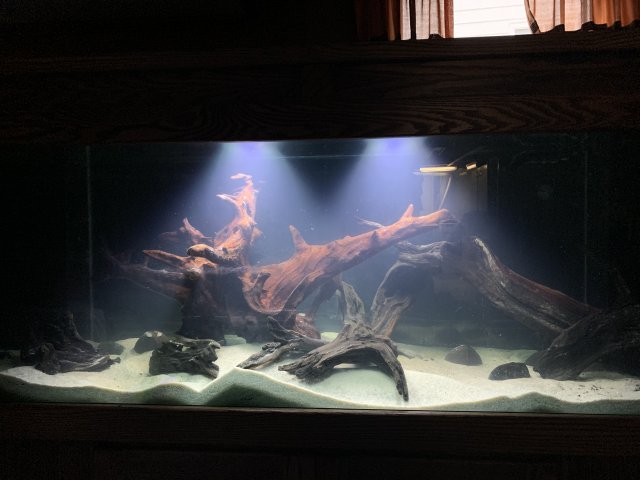
The large piece of manzanita wood on the right sank and I attached a piece of slate to the large piece on the left because it was so darned buoyant.

9357D2A6-2621-412F-9F10-10F65E7FB69A.jpeg
 

IndianaSam

CCA Members
Where did you get the piece on the left?!? That’s amazing looking!
It a GWAPA piece that I picked up from Viktor, aka H halak

Considering how awesome it looks, it was pretty cheap. Easily worth the club dues.
 
Top