You are using an out of date browser. It may not display this or other websites correctly.
You should upgrade or use an alternative browser.
You should upgrade or use an alternative browser.
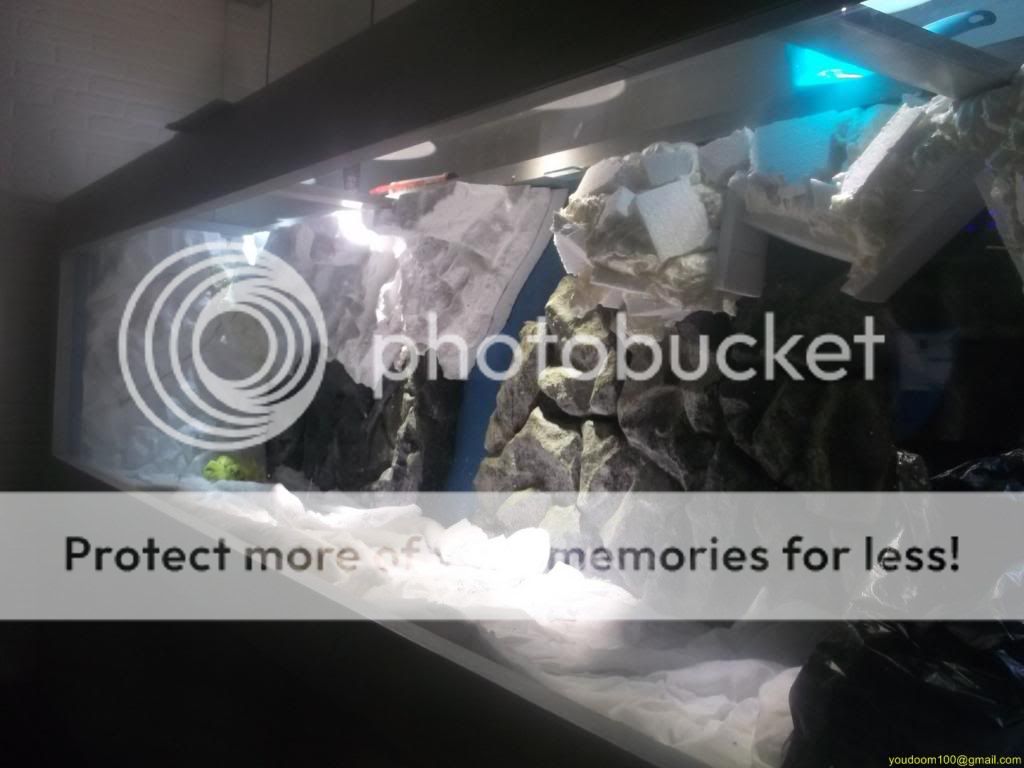
141x29x31 inch 360x75x80 work in progress
mdlnewman
Members
Looks awesome. Thanks for letting us follow you on this wonderful trek as you made a masterpiece.
PS what happened to your Futbal team??
PS what happened to your Futbal team??
Looks awesome. Thanks for letting us follow you on this wonderful trek as you made a masterpiece.
PS what happened to your Futbal team??
Duno ..I think they wanted on holiday soon.
these guys earn too much money, and are very spoiled and did not want to work together.
pff thx for asking......I was trying to forget
mdlnewman
Members
Hehe no problem just wanted to be neighborly. 
Hawkman2000
Members
GOOD GOD MAN, WHERE DO YOU FIND THE TIME?
Leffler817
CCA Members
Very nice! It looks so relaxing too. I can envision myself sitting there sipping some Grolsch! Yumm. :happy0180:
Sent from my iPhone using MonsterAquariaNetwork app
Sent from my iPhone using MonsterAquariaNetwork app
In August i began with the renovation of the 360cm aquarium, and adjustments to the filters of the overall system.
We were not completely satisfied with the design of the 360cm aquarium, this is because the tank was originally intended for South American Cichlids.
So big plastering driftwood played a major role, finally I decided to stay into Malawi cichlids.
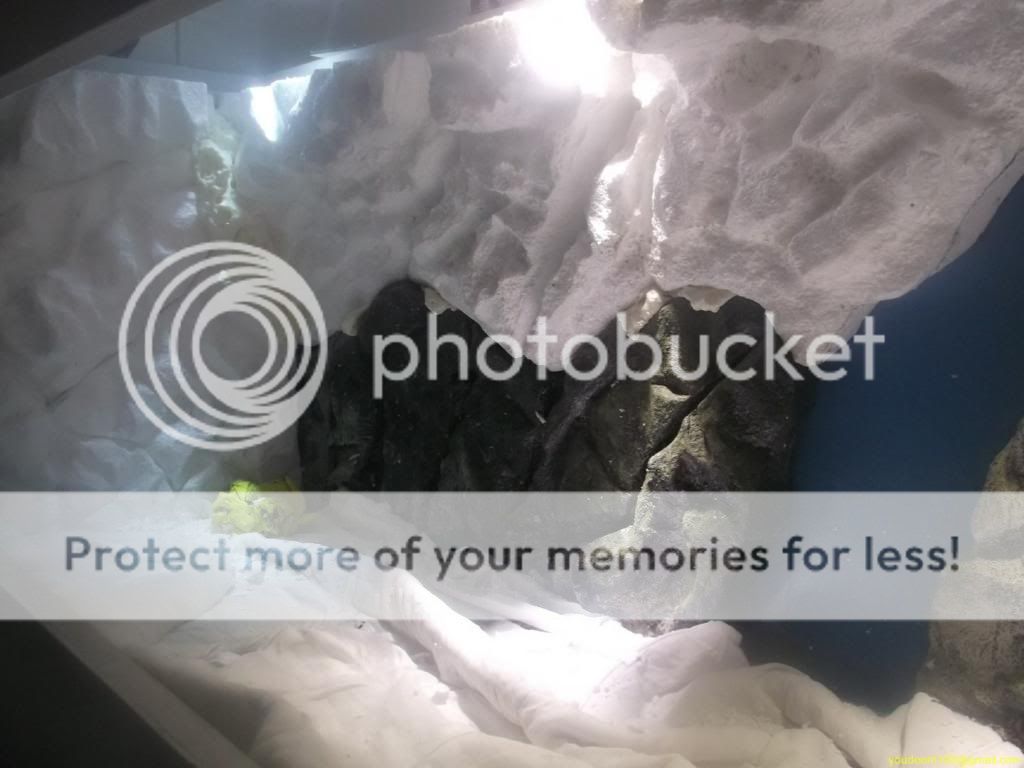
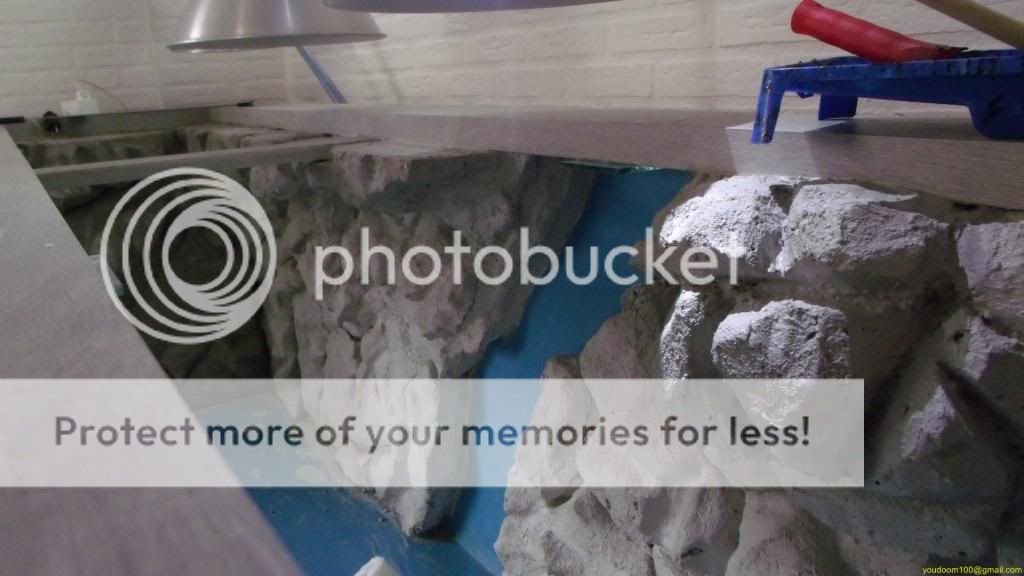
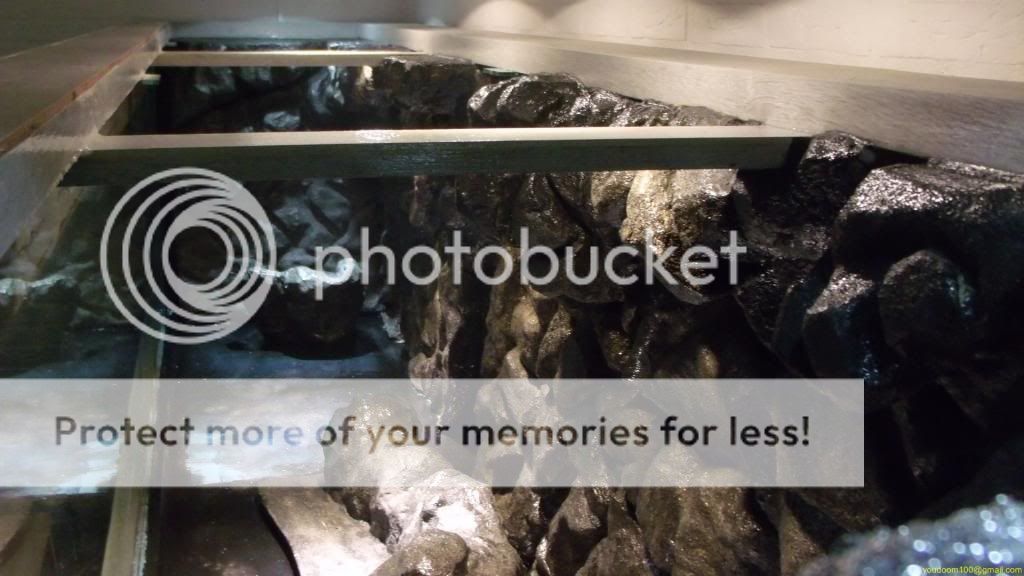
I have now changed the design here, made more rocks and overhanging rocks.
Several times, I will report on this renovation.
At the time of writing there is again water in the aquariums.
I put 2 new sand filters / fluidized bed filters together.
The original sand filter I customize and make an extra dry filter.
zackcrack00
Members
I can't look at these. It makes me wish I had his life! Me with my puny 29 gallon. Meh. 
I recieved several emails in which people asked how I made the rock wall.
Making this kind of back walls and decorations is very simple, and it is also not to creativity or something, it goes much more to the process and the system to work.
I will list how I did it, and include a list of materials and tools.
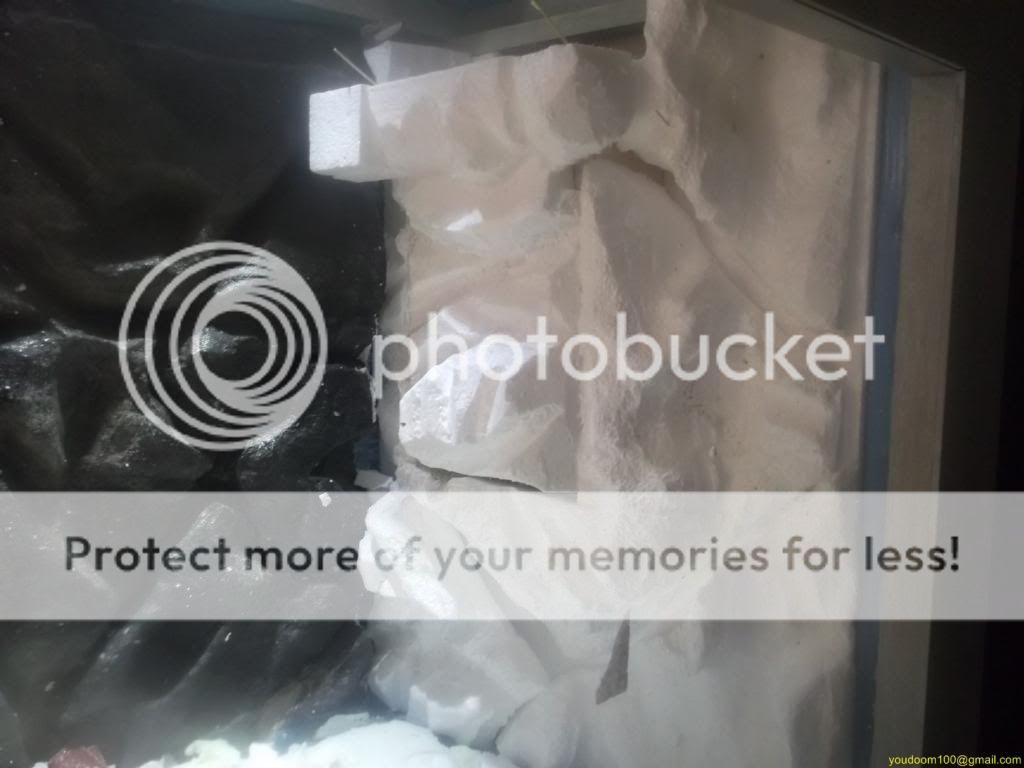
On some pictures from the previous report I have some overhangs created by the existing back, this is only done on a few points, normally I dont do it like this, first,it's a lot harder to do, and also more expensive.
Even with the modifications of the 360cm aquarium I'm talking about large part of the walls, and the
overhangs made as described below.
Initially I cut a plate to the desired length and width (this is the maximum size of therear) ........ it should fit later.
The base plate is also just styrofoam, then I cut another plate in the size of the firstplate, then I sign it off in a pattern which I later want.

The next step is to cut out the marked parts, if you've cut out everything you can cut in the relatively
small pieces a design application and / or they are thicker so that they protrude more later, for
thicken a separate part, you can cut out the first part covers a different styrofoam plate.
The individual pieces you dont make smaller than the dimensions that you received after cutting, you
go only straight edges a little crooked crop
The cropping pattern is very easy ............ you can potentially never do much wrong ............... it does
not have to be fluent, this will come later.
For cutting out the pattern in the individual parts I use ... and this is important for those
degradable hobby knives, this can extend all the way so that you get a knife from 8 to 10 cm.
I am using a hobby knife in the ordinary size and one that is much narrower.
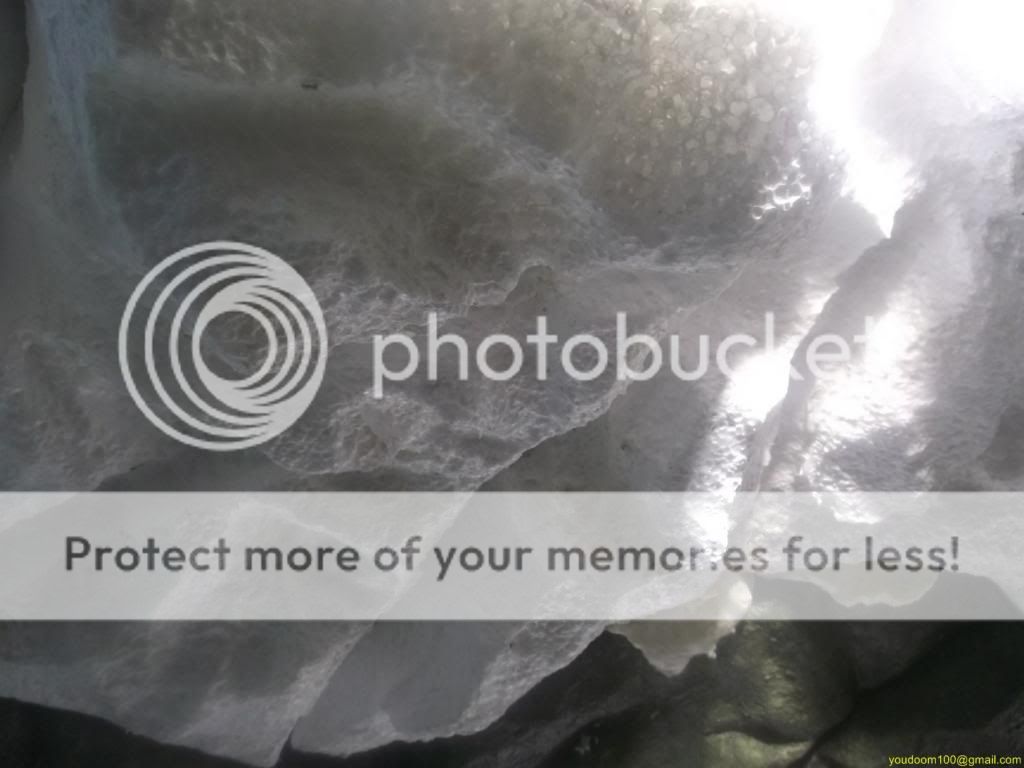
Then grab a hobby burner or something else with an open flame, than you go verrry gently over the Styrofoam pieces you have cut.
There were irregular is in structure or not very smooth transitions than they will
disappear when you just go with the burner over it (you really need to keep the burner on a
reasonable distance from the workpiece otherwise it can be too fast or it will get on fire)
The operation with the burner you do to the surface (side view) but also on the sides, this is an
important act to do, at the moment you work on the sides of the workpiece with the burner
you will see that the material pulls back / shrinks.
Eventually you keep a slightly lower part than you initially have cut (the circumference of the
work piece)
If you do all this and you have all the pieces trimmed and a structure created paste
all pieces to the base plate, this happens with regular aquarium silicone, the pieces will easily
back to the original place match, for they are all significantly decreased.

If the sealant between the base plate and the individual parts is sufficiently cured, you bring tile adhesive on.
The first layer should be quite thick to apply the tile adhesive should be at least as thick that you still can use a
brush, by then subsequent layers, the tile adhesive slightly thinner.


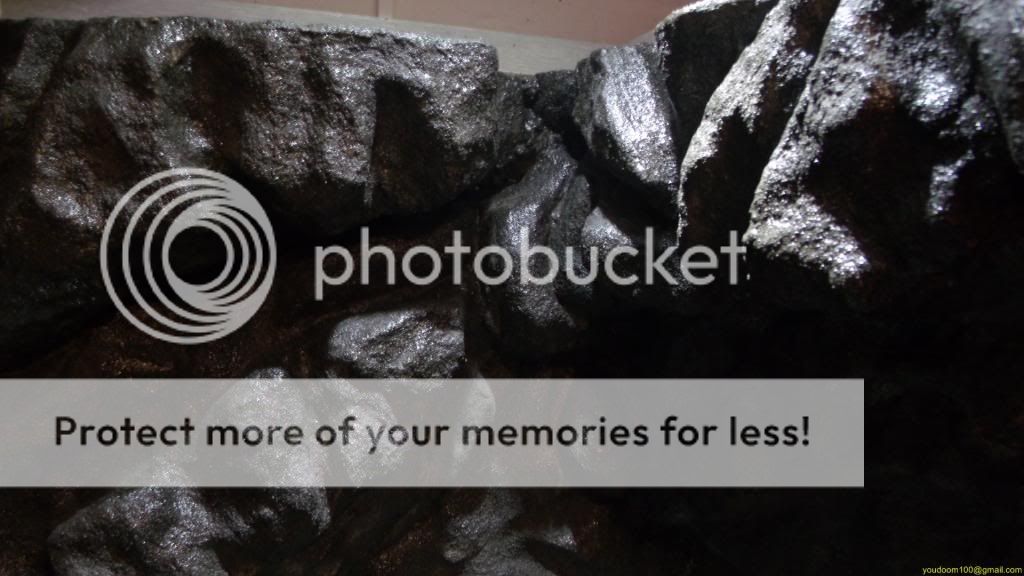
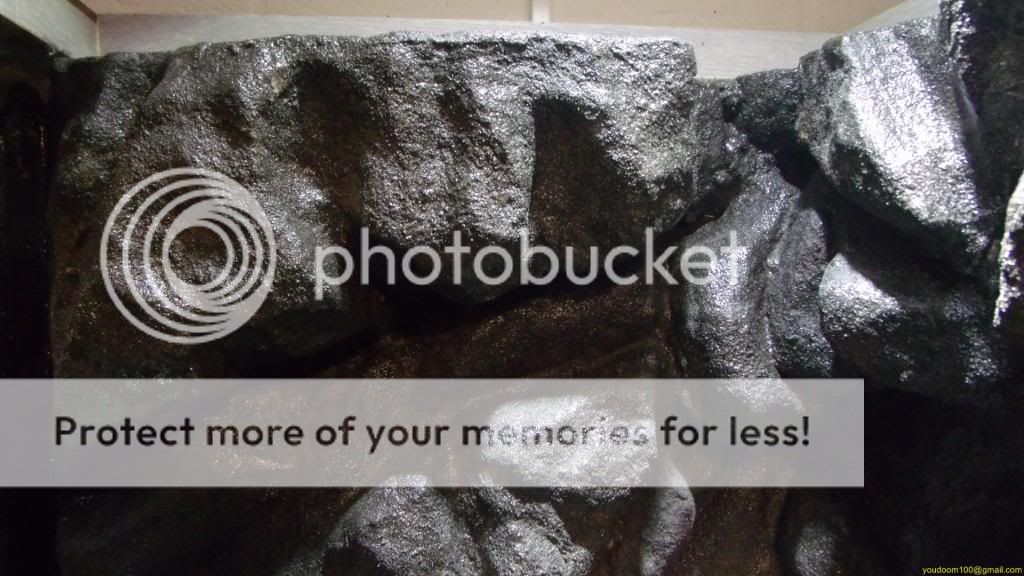
I always do tile adhesive 3 layers, more layers is not necessary and it will not make it stronger.
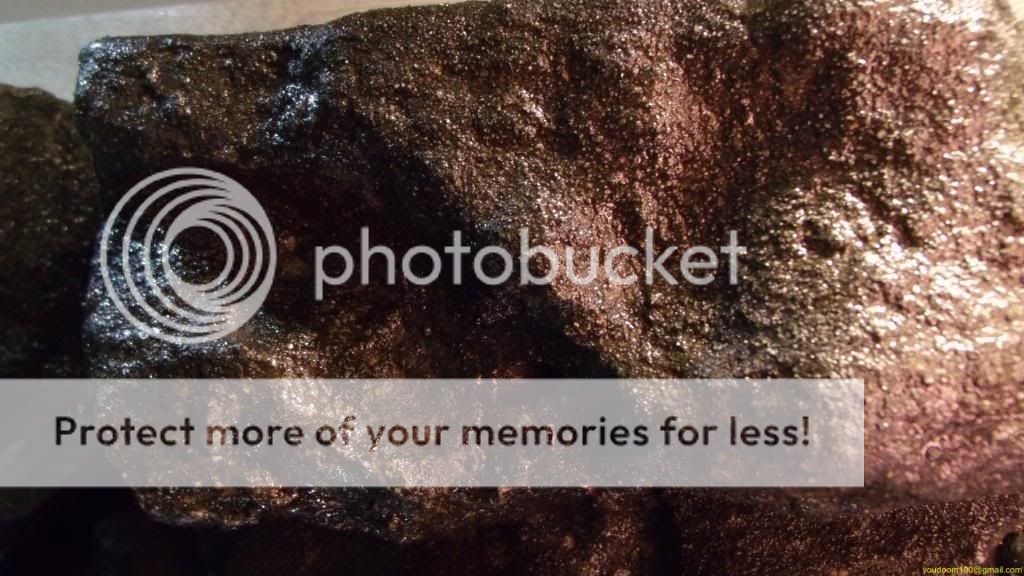
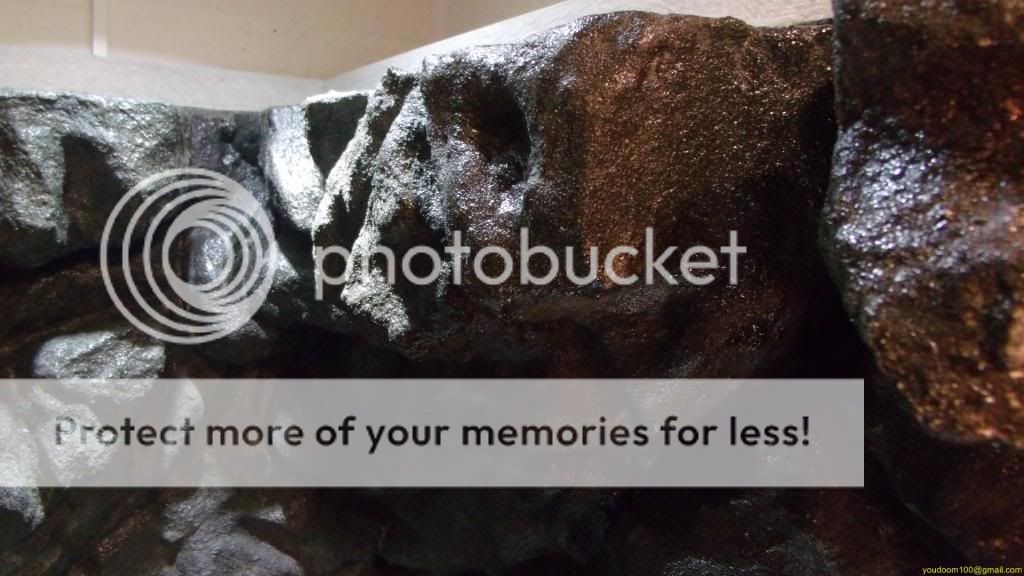
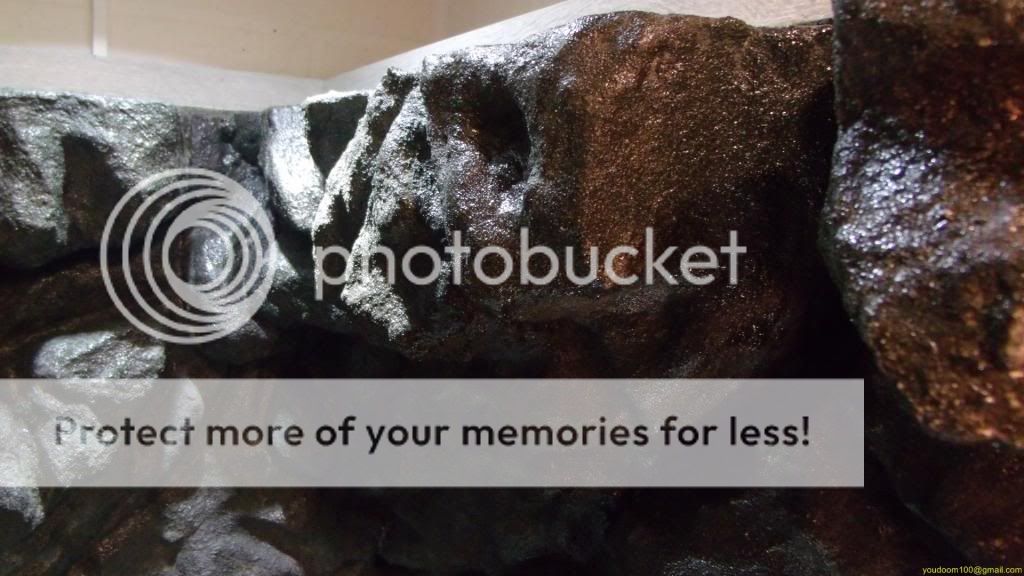
When i do the last layer of tile adhesive I add pigment, so the final color, I add the pigment to the adhesive
itself.
I think this has advantages compared to the later paints and pigments or add to the epoxy, if you add
pigment to the tile adhesive the result will not completely smooth opaque color, this is
because the tile adhesive is not uniformly thick and the pieces where the glue was more liquid
will have a slightly different color effect.
Finally bring the epoxy in 1 or 2 layers, more layers is unnecessary .... it will not make it stronger.
After everything is dry you can see the whole of the aquarium wall slabs, in some cases it may be easier to do this before you make the epoxy layer, in itself it is easier if you make the epoxy
when the workpiece is flat, this especially if there are came in some cracks which are hard to reach.
My youtube channel https://www.youtube.com/channel/UCEIxtjPlpdRSVEhG5cgxvqg?view_as=public
Making this kind of back walls and decorations is very simple, and it is also not to creativity or something, it goes much more to the process and the system to work.
I will list how I did it, and include a list of materials and tools.
On some pictures from the previous report I have some overhangs created by the existing back, this is only done on a few points, normally I dont do it like this, first,it's a lot harder to do, and also more expensive.
Even with the modifications of the 360cm aquarium I'm talking about large part of the walls, and the
overhangs made as described below.
Initially I cut a plate to the desired length and width (this is the maximum size of therear) ........ it should fit later.
The base plate is also just styrofoam, then I cut another plate in the size of the firstplate, then I sign it off in a pattern which I later want.

The next step is to cut out the marked parts, if you've cut out everything you can cut in the relatively
small pieces a design application and / or they are thicker so that they protrude more later, for
thicken a separate part, you can cut out the first part covers a different styrofoam plate.
The individual pieces you dont make smaller than the dimensions that you received after cutting, you
go only straight edges a little crooked crop
The cropping pattern is very easy ............ you can potentially never do much wrong ............... it does
not have to be fluent, this will come later.
For cutting out the pattern in the individual parts I use ... and this is important for those
degradable hobby knives, this can extend all the way so that you get a knife from 8 to 10 cm.
I am using a hobby knife in the ordinary size and one that is much narrower.
Then grab a hobby burner or something else with an open flame, than you go verrry gently over the Styrofoam pieces you have cut.
There were irregular is in structure or not very smooth transitions than they will
disappear when you just go with the burner over it (you really need to keep the burner on a
reasonable distance from the workpiece otherwise it can be too fast or it will get on fire)
The operation with the burner you do to the surface (side view) but also on the sides, this is an
important act to do, at the moment you work on the sides of the workpiece with the burner
you will see that the material pulls back / shrinks.
Eventually you keep a slightly lower part than you initially have cut (the circumference of the
work piece)
If you do all this and you have all the pieces trimmed and a structure created paste
all pieces to the base plate, this happens with regular aquarium silicone, the pieces will easily
back to the original place match, for they are all significantly decreased.

If the sealant between the base plate and the individual parts is sufficiently cured, you bring tile adhesive on.
The first layer should be quite thick to apply the tile adhesive should be at least as thick that you still can use a
brush, by then subsequent layers, the tile adhesive slightly thinner.


I always do tile adhesive 3 layers, more layers is not necessary and it will not make it stronger.
When i do the last layer of tile adhesive I add pigment, so the final color, I add the pigment to the adhesive
itself.
I think this has advantages compared to the later paints and pigments or add to the epoxy, if you add
pigment to the tile adhesive the result will not completely smooth opaque color, this is
because the tile adhesive is not uniformly thick and the pieces where the glue was more liquid
will have a slightly different color effect.
Finally bring the epoxy in 1 or 2 layers, more layers is unnecessary .... it will not make it stronger.
After everything is dry you can see the whole of the aquarium wall slabs, in some cases it may be easier to do this before you make the epoxy layer, in itself it is easier if you make the epoxy
when the workpiece is flat, this especially if there are came in some cracks which are hard to reach.


My youtube channel https://www.youtube.com/channel/UCEIxtjPlpdRSVEhG5cgxvqg?view_as=public


