
At long last... we have set up our new tank!
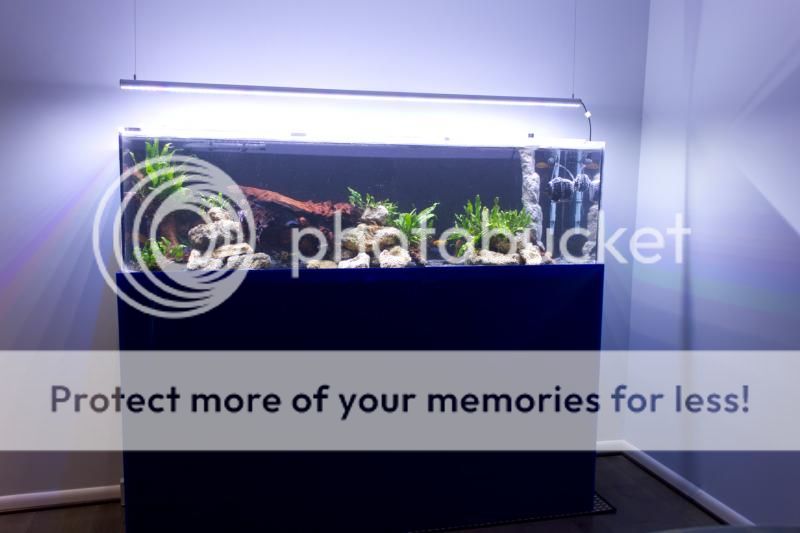
The tank is a 125 gallon, 72" x 18" x 21" acrylic. It has a wood stand with magnet grasped acrylic panels on 3 sides. It is relatively high (40" high stand) because we wanted to use it in a bar area with a high top table and be eye level with the fish.
It is now stocking our demasoni colony with 15 or so adults, a lot of juvies (40-50 at a guess?); msobo group of 3M/7F, an albino peacock pair, and a bunch of syno lucipinnis. They seem pretty thrilled with their new accommodations.
This tank was made by Artfully Acrylic in Manassas, VA. We ordered it in late May, and Adam had it ready for us in about 6 weeks. He was a lot of fun to work with. We went to visit and design it, which you could well do over the internet, but it was fun seeing his workshop and all his in-progress projects. They were in the process of building a more than 8 foot tank to ship to Alaska! Our tank is made of half inch acrylic with the stand skinned in navy acrylic. Adam was happy to do the colored acrylic stand and ended up having to look all over the country to find navy acrylic for us - which was super great of him, I am so happy with the look.
We originally intended this tank for our kitchen, because we spend a lot of time there preparing meals and socializing. But we ended up putting it downstairs in our TV room because we spend a lot of time there too, and so it wanted some fish.
The light is from BuildMyLED.com, who were also really helpful. We contacted them for advice on color mix, and they were responsive and had good advice.
The overall project wasn't cheap, but because I am a woman, I can rationalize retail exceptionally well even when it isn't shoes; a tank this size is probably not going to be cheap, not really. A lot of used ones come cheap in cash but need serious refurb, and a new one of any sort is going to be expensive. A new glass one of this size is going to cost a lot of beer and pizza over its life; Ethan and I could move both tank and stand very comfortably on our own. Compared to other options, while it cost a bit more, the incremental cost of custom and acrylic was not as much as I would have thought.
Thanks for looking. I'd happily recommend Artfully Acrylic to anyone looking for a custom tank!

")